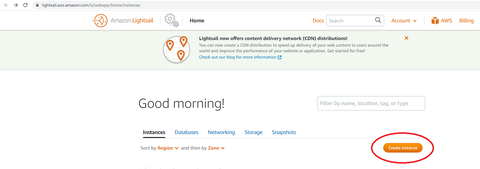
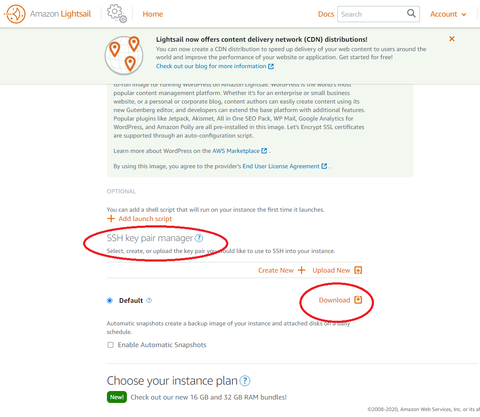
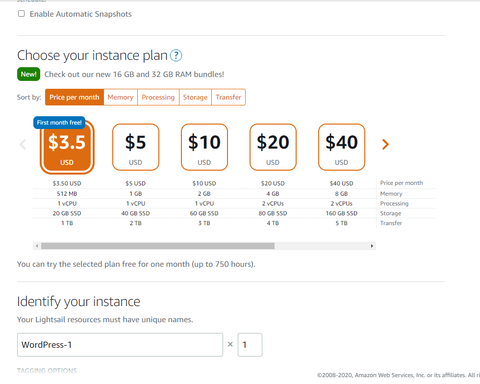
AWSのLightsailはお手軽にWebサーバを立ち上げることができます。Wordpressを使う場合はイメージがあるので一瞬で立ち上げられ、bitnamiのイメージを使ってるとSSL化も一瞬でできます。(参考)
自分のサイトをAWS Light Sailで立ててSSL化するときにちょっとはまったのでメモ
構成
| ベース | AWS Lightsail |
| OS | Ubuntu20.0.4 |
| Webサーバ | Nginx-uWSGI-flask |
| SSL化 | letsencrypt |
準備するもの
- UbuntuとDockerは入ってる前提
- Dockerfile
- 各種設定(nginx.conf, uwsgi.ini, supervisord.conf, crontab)
- flaskアプリ(app.py)
Dockerfile
FROM ubuntu:latest

RUN apt update && apt install -y nginx
RUN apt-get update
RUN apt-get install python3 python3-pip -y
RUN apt install -y certbot python3-certbot-nginx
RUN pip3 install uwsgi flask supervisor

RUN apt install -y cron
ADD crontab /var/spool/crontab/root
RUN crontab /var/spool/crontab/root


VOLUME ["/home"]

COPY . /work

WORKDIR /work
RUN rm /etc/nginx/nginx.conf
RUN ln -s /home/nginx/nginx.conf /etc/nginx/nginx.conf
RUN ln -s /home/etc/letsencrypt /etc/nginx/letsencrypt
RUN mv etc/uwsgi.ini /etc/uwsgi.ini
RUN mv etc/supervisord.conf /etc/supervisord.conf
RUN rm -rf etc
RUN rm crontab


EXPOSE 80
EXPOSE 443
CMD ["/usr/local/bin/supervisord"]
ローカルディスクをマウントするために/homeを定義しておきます。certbotが生成するファイルは、dcoker image内に格納するのではなく、ローカルディスクに格納するようにしておきます。下記のディレクトリ構成をみるともうちょっとわかりやすいかもしれません。鍵生成はdockerをbuildする段階ではやらずにDockerを立ち上げてからDockerの中から行うようにしています。そのためcertbotが生成したファイルをローカルディスクに保存するようにしています。
各種設定
下記の3つの設定ファイルを用意してローカルディレクトリにetcという名前のフォルダを作っておいておきます。ディレクトリ構成
下記のような構成でファイルを配置します
./
  |
 docker
  |   |
  |   +- Dockerfile
  |   +- crontab
  |   |
  |   +-etc/
  |      |
  |      +- uwsgi.ini
  |      +- supervisord.conf
  |
 volume
     |
     +- app.py
     +- crontab
     |
     +- etc/
         |
         +- nginx/
         |     |
         |      +- nginx.conf
         |
         +- letsencrypt/
nginx.conf
letsencrypt(certbot)でのSSL化においてはserver_nameをきちんと定義しておく必要があるので事前にDomainを取得しておいてください。
worker_processes  1;

error_log  /var/log/nginx/error.log warn;
pid        /var/run/nginx.pid;


events {
    worker_connections  1024;
}


http {
    include /etc/nginx/mime.types;
    default_type  application/octet-stream;

    log_format  main  '$remote_addr - $remote_user [$time_local] "$request" '
                  '$status $body_bytes_sent "$http_referer" '
                  '"$http_user_agent" "$http_x_forwarded_for"';

    access_log  /var/log/nginx/access.log  main;

    sendfile        on;
    keepalive_timeout  65;

    upstream uwsgi {
        server localhost:3031;
    }

    server {
        listen 80;
        server_name example.com;
        charset utf-8;

        location / {
            include uwsgi_params;
            uwsgi_pass 127.0.0.1:3031;
        }

        location /static {
            include uwsgi_params;
            uwsgi_pass 127.0.0.1:3031;
        }

    }
}
uwsgi.ini
[uwsgi]
wsgi-file=/home/app.py
socket=127.0.0.1:3031
callable = app
supervisord.conf
[supervisord] nodaemon=true [program:uwsgi] command=/usr/local/bin/uwsgi --ini /etc/uwsgi.ini --die-on-term stdout_logfile=/dev/stdout stdout_logfile_maxbytes=0 stderr_logfile=/dev/stderr stderr_logfile_maxbytes=0 [program:nginx] command=/usr/sbin/nginx -g "daemon off;" stdout_logfile=/dev/stdout stdout_logfile_maxbytes=0 stderr_logfile=/dev/stderr stderr_logfile_maxbytes=0let's encryptの証明書は3か月で切れるので、自動更新用のcron設定をやらないと3か月後に突然証明書が切れることになります。Dockerにcron設定をして証明書を定期的に更新するようにします。
[inet_http_server] port=127.0.0.1:9001 [rpcinterface:supervisor] supervisor.rpcinterface_factory = supervisor.rpcinterface:make_main_rpcinterface [supervisorctl] serverurl=http://127.0.0.1:9001
crontab
* * * * sun certbot renew --pre-hook "/usr/local/bin/supervisorctl stop nginx" --post-hook "/usr/loca\
l/bin/supervisorctl start nginx"
cronに設定してるコマンドがかなり長いですが毎週日曜日にcertbot renewコマンドを実行するようにします。renewする前にsupervisorctlでnginxをstopし、renewした後にsupervisorctlでnginxをスタートします。これはcertbot renewが証明書を更新する際にポート80番を使うためで、nginxが立ち上がったままだと80番が競合するためです。また今回のやり方ではnginxをsupoervisord経由で起動しているので、supervisorctlでnginxを制御させます。
Flaskアプリ
ここではflaskアプリの書き方は説明しないのでめちゃめちゃシンプルなものapp.py
from flask import Flask, render_template, request

app = Flask(__name__)

@app.route('/')
def index():
    return "Hello world!!"

if __name__ == '__main__':
    app.run(host='0.0.0.0', port=80, debug=True)
構築手順
Docker buildコマンド
sudo docker build -t nginx-ssl .
Docker runコマンド
sudo docker run -it --rm -p 80:80 -p 443:443 -v $(pwd)/volume:/home nginx-ssl /bin/bash
証明書作成
nginxオプションをつけておくと自動でconfファイルを更新してくれます。certbot --nginx -d example.com
Webサーバ起動
下記のコマンドでWebサーバーを起動、ブラウザ経由でアクセスできることを確認する。/usr/local/bin/supervisord
はまったこと
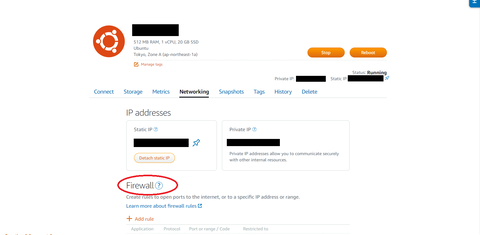
証明書がうまく作られて設定もうまくいってるようですが、SSLの通信が全く通らない。Ubuntuの中のファイヤーウォールやホスト-Docker間のポートフォワードばかりを気にして、確認しまくっていたが、その外側のLightSailで完全に遮断されてた...
LightSail側でファイヤーウォールを開けてやらないといけない、ここが一番はまりました。
